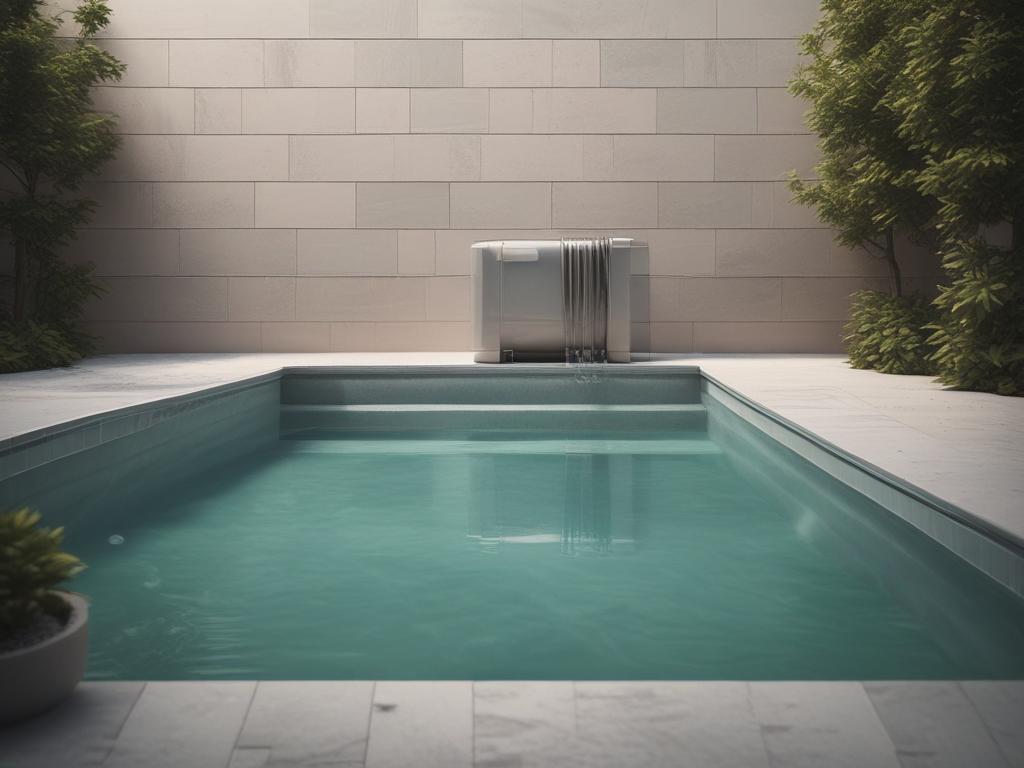
Getting ready to install a pool heater is an exciting step toward extending your swimming season and enhancing your outdoor enjoyment. Proper preparation ensures a smooth installation process and optimal heater performance.
This blog post offers a step-by-step guide on how to prepare your pool for heater installation. It covers everything from necessary electrical work and plumbing adjustments to space considerations that will make the process as seamless as possible.
Preparing your pool for heater installation involves a series of crucial steps to ensure a seamless process. Start by assessing your current pool setup and identifying the best location for your new heater. Consider factors such as accessibility, proximity to power sources, and the layout of your existing plumbing. Clear the area around your pool to create a safe and convenient workspace for technicians. Remove any debris, furniture, or plants that may obstruct access and make measurements to ensure enough space for the heater unit.
Next, it is essential to check the compatibility of your existing pool equipment with the new heater. Verify that your pool’s plumbing and electrical systems can support the heater you plan to install. Review the heater’s specifications and consult with a professional if necessary. Make any upgrades to your plumbing or electrical systems to avoid future issues. Ensuring the groundwork is thoroughly laid out prepares your pool for a successful heater installation, enhancing performance and longevity.
Before you proceed with your pool heater installation, ensuring that your electrical systems are up to code is crucial. Assess your current electrical supply to confirm that it can handle the additional load required by the heater. Depending on the model, you may need a dedicated circuit or an upgrade to your breaker panel. It is advisable to hire a licensed electrician to manage this work safely and efficiently. They will evaluate the amperage requirements and run necessary wiring, ensuring it complies with local codes and regulations.
In addition to electrical preparations, plumbing adjustments are essential for optimal heater performance. Inspect your existing pool plumbing to determine if modifications are needed to accommodate the heater. This could involve adding or changing pipes to ensure adequate water flow to and from the heater. It’s also vital to check for leaks or weaknesses in the existing system that could lead to problems later. Consider consulting a professional plumber to help with this process. They can provide insights on the best setup for your new heater and ensure everything is connected correctly and functioning well.
Consider the space around the heater when preparing your pool for installation. Adequate clearance around the unit is essential for proper airflow and maintenance access. A minimum of two feet of space on all sides is generally recommended, though this can vary based on the specific heater model and manufacturer's guidelines. Therefore, before the installation, evaluate the area where the heater will be positioned. Remove any potential obstacles, such as pool equipment, landscaping, or debris, to allow the technician unobstructed access.
Additionally, consider the placement of the heater in your pool and existing utilities. Position the heater close to your existing electrical and plumbing connections to minimize installation complications and costs. However, ensure it is placed in a sheltered area to protect it from harsh weather conditions while allowing for adequate airflow. By carefully considering these space requirements, you can facilitate a smoother installation process and ensure your heater operates efficiently for years to come.
We bring you the finest selection of gas and electric heat pumps from top manufacturers, accompanied by the best warranties in the industry. We focus on selling and installing pool heaters that offer both performance and longevity.
Reach out to our team to learn more about extending your swimming season!
 Bluewater Pools